Published: October 24, 2026 · By Alex Petrov
I skipped a sewer scope on my fourth rental purchase because the house looked solid. Six months later, a collapsed clay pipe cost me $14,200 to replace — the entire first year’s cash flow plus $3,000 out of pocket. That $350 inspection I skipped would have either killed the deal (saving me $14,200) or given me leverage to negotiate $15,000 off the purchase price. Every item on this due diligence checklist investment property list buyers use exists because someone learned the same lesson the expensive way.
This due diligence checklist investment property guide covers 47 items across four categories: financial analysis, physical inspection, legal review, and market verification. I use this exact list for every acquisition — and the three deals I passed on because of due diligence findings saved me more money than the 19 deals I closed. Print this checklist and work through it systematically between contract and closing. Run your financial analysis alongside this guide using the rental property calculator.
Due Diligence Timeline: When to Do What
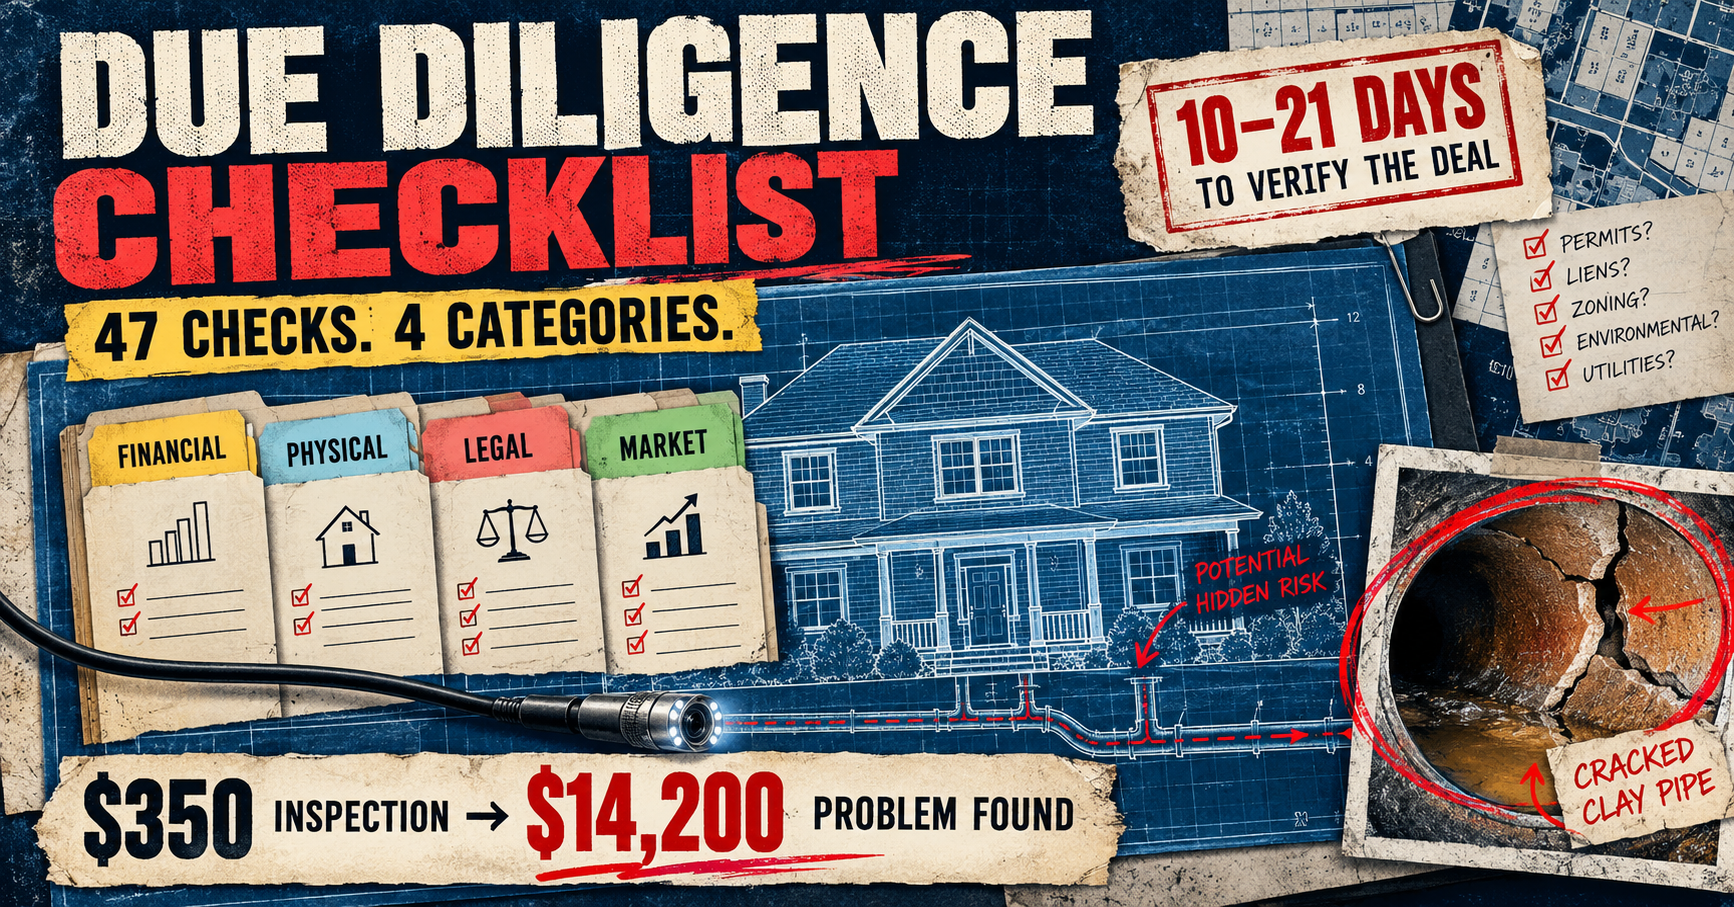
Most purchase contracts give you 10-21 days for due diligence (the “inspection period”). Some items take days to schedule. Start immediately — do not wait until day 8 to order the inspection.
| Days After Contract | Action | Who Does It |
|---|---|---|
| Day 1 | Order home inspection, schedule sewer scope, request seller docs | You / agent |
| Days 1-3 | Run financial analysis: NOI, cap rate, DSCR, cash flow | You |
| Days 3-5 | Home inspection + sewer scope | Inspector |
| Days 3-7 | Title search, verify zoning, check permits | Title company / you |
| Days 5-10 | Insurance quotes, property tax verification, market rent comps | You / agent / broker |
| Days 7-14 | Review all findings, negotiate repairs/credits or walk away | You / attorney |
| Days 10-21 | Appraisal (ordered by lender), final loan approval | Lender / appraiser |
Due Diligence Checklist Investment Property: Financial Analysis (15 Items)
Financial analysis is where most investors start — and where the most expensive mistakes happen. A property that “cash flows $300/month” on the seller’s pro forma might lose $200/month when you use real numbers.
Income Verification
1. Verify current rent against market. Get the actual lease showing current rent. Compare to market using 3-5 comparable rentals within 0.5 miles. If current rent is 10%+ above market, the tenant may leave at renewal and you will need to drop the price to fill it. Use the rent estimator for quick market comparison.
2. Request 12 months of rent rolls. Not the seller’s word — actual bank statements or property management reports showing rent collected each month. Look for gaps (vacancy), late payments, and declining collection rates.
3. Check lease terms and expiration dates. A lease expiring in 60 days means potential vacancy immediately after closing. Month-to-month tenants can leave with 30 days notice. Below-market leases are opportunities — above-market leases are risks.
4. Verify other income. Laundry, parking, pet rent, storage — confirm these are real and documented. Sellers sometimes inflate “other income” with one-time items or optimistic projections.
Expense Verification
5. Get the actual property tax bill — not the seller’s number. Taxes often reassess at purchase price. Check the county assessor website for the current effective rate and multiply by your purchase price. This is usually the biggest expense surprise.
6. Get insurance quotes before closing. Call three carriers for landlord (DP-3) policy quotes. Seller’s insurance rate is meaningless — your rate depends on your claims history, the property condition, and whether you owner-occupy. Budget 15-25% above the seller’s premium. See our insurance cost guide.
7. Verify utility costs. Request 12 months of utility bills for landlord-paid utilities (often water/sewer on multifamily). Ask the utility company directly — sellers sometimes “forget” the $400/month water bill on the 8-unit.
8. Get maintenance history. What was repaired in the last 3 years? How much was spent? A property with $0 in maintenance means deferred maintenance — not a well-maintained building. Budget 1-1.5% of property value annually. Use our expenses guide for benchmarks.
9. Calculate actual NOI. Use YOUR numbers, not the seller’s pro forma. Plug real taxes, real insurance quotes, real vacancy rate (market average, not 3%), and management cost (even if you self-manage — price it in). The NOI calculator gives you the accurate number.
10. Run cap rate analysis. Your NOI divided by purchase price. Compare against local market averages. If the cap rate is below market, you are overpaying. If above, investigate why — there may be a hidden problem. Check with the cap rate calculator.
11. Calculate cash-on-cash return. After financing, what is your annual cash return on the money you invested? Target 8%+ for most markets. Use the cash-on-cash calculator.
12. Check DSCR. If using a DSCR loan, verify the property’s rent covers PITIA at a 1.0+ ratio. Many deals that look good on paper fail the DSCR test at current interest rates. Run it through the DSCR calculator.
13. Model your LTV and financing terms. How does the down payment affect your rate and cash flow? Compare 20% vs 25% down scenarios. Check the LTV calculator and the mortgage calculator.
14. Budget closing costs. 2-5% of purchase price. Get the lender’s Loan Estimate and compare against the closing costs calculator.
15. Calculate total cash needed. Down payment + closing costs + reserves. If you cannot fund all three, the deal does not work at this price. See our cash reserves guide for how much to keep.
Part 2: Physical Inspection (16 Items)
Physical inspection is where your due diligence checklist investment property analysis prevents the most expensive surprises. A $400 inspection can save $10,000-$50,000 in hidden repairs.
Structure and Envelope
16. Professional home inspection. Non-negotiable. Hire a licensed inspector for $300-$600. They check structure, roof, HVAC, plumbing, electrical, and safety items. Attend the inspection in person — the inspector’s verbal comments are often more revealing than the written report.
17. Roof condition and remaining life. Ask the inspector to estimate remaining useful life. A roof with 3 years left means a $7,000-$15,000 expense is coming soon. Factor this into your offer price or negotiate a credit.
18. Foundation inspection. Look for cracks wider than 1/4 inch, bowing walls, uneven floors, and water intrusion. Foundation repairs start at $5,000 and can exceed $50,000. If the inspector flags foundation concerns, hire a structural engineer ($300-$500) for a detailed assessment.
19. Sewer scope. $150-$350. A camera inspects the sewer line from house to street. Clay pipes (pre-1970 homes), tree root intrusion, and bellied lines are common findings. Replacement costs: $3,000-$20,000. This is the inspection I skipped and paid $14,200 to learn from.
Major Systems
20. HVAC age and condition. Average HVAC lifespan: 15-20 years. If the system is 12+ years old, budget $4,000-$8,000 for replacement within 3-5 years. Check the manufacturing date on the unit and ask when it was last serviced.
21. Water heater age. Lifespan: 10-15 years. Replacement: $800-$2,000. A 10-year-old water heater is a near-term expense. Check the serial number plate for manufacturing date.
22. Electrical panel capacity and wiring type. Look for aluminum wiring (fire risk, common in 1965-1975 homes), Federal Pacific or Zinsco panels (safety hazard), and panels under 100 amps (may need upgrade for modern use). Panel upgrade: $1,500-$3,000. Rewiring: $8,000-$15,000.
23. Plumbing material and water pressure. Polybutylene pipes (gray plastic, 1978-1995) are failure-prone and uninsurable by some carriers. Galvanized steel pipes corrode internally and restrict water flow. Replumbing: $4,000-$10,000. Test water pressure at multiple fixtures simultaneously.
Interior and Exterior
24. Window condition. Single-pane windows are energy-inefficient and may affect habitability requirements. Replacement: $300-$800 per window. A 15-window house with single-pane: $4,500-$12,000 to upgrade.
25. Flooring condition. Check for water damage under flooring (soft spots near bathrooms and kitchen). Full flooring replacement: $2,000-$5,000 per unit. Ask what is under the carpet — hardwood underneath is a bonus.
26. Pest inspection. Required by many lenders. Termite damage, carpenter ants, rodent evidence. Termite treatment: $500-$2,500. Termite damage repair: $1,000-$10,000+. Some states require a termite clearance letter for sale.
27. Lead paint test. Required disclosure for pre-1978 homes. Lead abatement costs $5,000-$15,000 and may be required before renting to tenants with children in some jurisdictions.
28. Mold inspection. If the home inspection shows water stains, musty smell, or visible mold, get a mold test ($300-$600). Professional remediation: $2,000-$10,000. Mold can make a property uninhabitable and trigger EPA-mandated cleanup procedures.
29. Drainage and grading. Water should flow away from the foundation. Standing water near the foundation causes basement leaks and structural damage. Regrading: $1,000-$3,000. French drain installation: $3,000-$8,000.
30. Exterior condition. Siding, trim, paint, gutters, driveway. These are cosmetic but affect tenant quality and property value. Budget $2,000-$5,000 for exterior refresh if needed.
31. Parking and access. Adequate parking for tenant vehicles? Driveway condition? Off-street parking adds $50-$100/month in rent value in urban areas.
Part 3: Legal Due Diligence (9 Items)
The legal section of your due diligence checklist investment property review is critical. Legal issues can make a property worthless regardless of its physical condition or financial performance. These items protect you from buying someone else’s problem.
32. Title search. Your title company runs this. Look for liens, judgments, easements, and encroachments. Any title defect must be cleared before closing. Title insurance protects you — but only if the search was thorough.
33. Verify zoning. Confirm the property is zoned for rental use. Some residential zones prohibit non-owner-occupied rentals, short-term rentals, or multi-unit conversions. Check with the local planning department — not just the listing agent’s word.
34. Check for open permits. Unpermitted work (additions, finished basements, converted garages) can require retroactive permitting, code compliance, or demolition. Ask the city building department for the permit history.
35. Review HOA documents. If applicable: rental restrictions, pet policies, special assessments, reserve fund balance, and litigation history. An HOA with a $50,000 special assessment coming will eat your cash flow for years.
36. Check for code violations. Open code violations transfer with the property in most jurisdictions. You buy the house, you buy the violation — and the fine. Check with the local code enforcement office.
37. Verify seller’s authority to sell. Is the seller actually the owner? Are there co-owners who have not signed? Is the property in a trust or estate? Title company handles this but verify independently if anything seems off.
38. Review existing leases. Every lease transfers with the property. Check rent amounts, lease terms, tenant responsibilities, and any unusual provisions (below-market rent locked for 2 more years, rent-free months, etc.).
39. Check for environmental issues. Former gas stations, dry cleaners, or industrial uses may have soil contamination. Phase 1 Environmental Site Assessment ($1,500-$3,000) is standard for commercial properties and recommended for any property with industrial history.
40. Confirm property boundaries. If there is any dispute about property lines, fence placement, or shared driveways, get a survey ($300-$800) before closing. Boundary disputes after purchase are expensive to litigate.
Part 4: Market Due Diligence (7 Items)
Even after completing every financial and physical item on your due diligence checklist investment property, a property can be financially sound, physically perfect, and legally clean — and still be a bad investment if the market is wrong.
41. Population trend. Is the area gaining or losing population? Declining population means declining demand, rising vacancy, and falling rents. Check Census Bureau population estimates for your metro area.
42. Employment data. Job growth drives rental demand. Check the major employers in the area — is the local economy diversified or dependent on one industry? One factory closing can spike vacancy rates across the entire submarket.
43. Comparable rent verification. Do not trust Zillow estimates for investment decisions. Call 2-3 local property managers and ask what your specific unit type rents for. Drive the neighborhood and look at for-rent signs. Check actual listings on Apartments.com and Facebook Marketplace.
44. Vacancy rate trend. Is vacancy rising or falling in your submarket? Rising vacancy means oversupply — your property will take longer to fill and may need rent concessions. Check with the vacancy rate calculator and our vacancy reduction guide.
45. New construction pipeline. Large multifamily projects under construction nearby will increase supply and put downward pressure on rents. Check the city planning department for approved building permits.
46. Neighborhood quality and trajectory. Drive the neighborhood at different times — morning, evening, weekend. Talk to neighbors. Look for investment signals: renovated properties, new businesses, infrastructure improvements. Red flags: boarded-up properties, code violations, declining retail. Read our best cities guide for market-level data.
47. Comparable sales (for value verification). Pull 3-5 recent sales within 0.5 miles of similar properties. If you are paying more than the comps support, either negotiate down or walk away. Use the ARV calculator if rehab is involved.
The Walk-Away Decision
The hardest part of following a due diligence checklist investment property process is acting on what you find. After weeks of work and emotional investment, walking away feels like failure. It is not — it is the most profitable decision you can make.
Your due diligence checklist investment property analysis should trigger a walk-away when:
- Foundation issues exceed $10,000 and the seller will not credit the full amount
- NOI recalculation shows negative cash flow at current interest rates
- Unpermitted additions cannot be retroactively permitted at reasonable cost
- Environmental contamination is confirmed
- Title defects cannot be resolved before closing
- The appraisal comes in more than 5% below purchase price and the seller will not renegotiate
Using a thorough due diligence checklist investment property process means the deals you walk away from protect your portfolio as much as the deals you close. Every dollar not lost on a bad deal is available for a good one.
Frequently Asked Questions
What is a due diligence checklist for investment property?
A due diligence checklist investment property process is the investigation period between signing a purchase contract and closing. It includes financial analysis (verifying income and expenses), physical inspection (checking the building condition), legal review (title, zoning, permits), and market analysis (rent verification, vacancy trends, neighborhood quality). The goal is to confirm the deal is as good as it appeared — or discover problems before you are legally committed.
How long is the due diligence period?
Most residential purchase contracts allow 10-21 days for the due diligence checklist investment property review. Commercial properties typically get 30-60 days. During this period, you can cancel the contract and get your earnest money back if you find unacceptable issues. Start inspections immediately on day 1 — scheduling delays can consume your entire window.
How much does investment property due diligence cost?
Budget $500-$2,000 for a typical due diligence checklist investment property process: home inspection ($300-$600), sewer scope ($150-$350), pest inspection ($50-$150), and your time for financial analysis and market research. Additional specialized inspections (structural engineer, mold test, environmental assessment) add $300-$3,000 if needed. This investment protects against $5,000-$50,000 in undiscovered problems.
What is the most important due diligence item?
For financial due diligence: verifying property taxes at your purchase price (not the seller’s current bill). Tax reassessment is the single most common expense surprise. For physical inspection: the sewer scope — it finds the most expensive hidden problems ($3,000-$20,000) for the least cost ($150-$350). Always do both, regardless of how “turnkey” the property appears.
Can I skip due diligence to close faster?
You can waive the due diligence checklist investment property contingency to make your offer more competitive — but this means you cannot back out if you find problems. Only experienced investors with deep reserves should consider this, and only on properties they have already researched extensively. For most investors, the inspection period is the most valuable protection in the purchase contract. Skipping it to save a few days is not worth the risk.
Start Your Due Diligence Today
Print this due diligence checklist investment property guide and use it on your next acquisition. Check every item. Document everything. And trust the numbers over your emotions — if the due diligence reveals a deal-breaker, walk away without guilt. The next deal is always around the corner, but the money lost on a bad purchase takes years to recover.
Start your due diligence checklist investment property workflow with the rental property calculator. Check your cap rate, verify your DSCR, and budget your closing costs before you make an offer. Every due diligence checklist investment property analysis starts with the numbers — everything else confirms what the numbers already told you.